BLOGS
How to Restore Drywall After a Flood: A Step-by-Step Approach
"Restoring drywall after a flood is about patience and care—transforming damage into a fresh start for your home."
Flooding can be a devastating event for homeowners, especially when it damages essential areas of your home like drywall. If you've experienced a flood, restoring your drywall is crucial not only for aesthetic reasons but also for ensuring your home is safe and structurally sound. This step-by-step guide will walk you through the process of restoring drywall after a flood, so you can get your home back to normal.
Step 1: Safety First
Before you start any restoration work, ensure that your home is safe to enter. If water levels have receded, check for any remaining hazards like electrical issues or structural damage. If the power is still on, turn off the electricity to avoid any electrical hazards when dealing with wet drywall. If the flood was severe, you might want to call in a professional to assess safety.

Step 2: Remove Standing Water
The first priority in flood recovery is to remove any standing water as soon as possible. Use a sump pump or wet/dry vac to extract as much water as you can. The longer the water stays, the more damage it will cause, so speed is essential.
Once the water has been removed, open windows and doors to allow air circulation. Using fans and dehumidifiers will help dry out the area faster and reduce the risk of mold growth.
Step 3: Assess the Damage
After the area has dried out somewhat, assess the extent of the damage. Check the drywall for any visible signs of water damage such as warping, bubbling, or staining. If the drywall has absorbed significant water, it may need to be replaced. In some cases, you might be able to salvage the drywall if the water damage is minimal.
Step 4: Remove Damaged Drywall
If the drywall is too damaged to repair, you'll need to cut it out and remove it. Use a utility knife or drywall saw to cut out the affected sections. Typically, flood damage extends about 12 to 18 inches above the waterline, so cut drywall at this height.
Dispose of the damaged drywall and other debris in a safe manner, ensuring it is taken to an appropriate disposal site. You’ll also want to check for any insulation behind the drywall; if it is soaked, it will need to be replaced.
Step 5: Clean and Disinfect the Area
Once the damaged drywall is removed, clean the exposed studs and the surrounding areas. Use a mixture of water and detergent to scrub off any dirt and debris. After cleaning, disinfect the area with a solution of bleach and water (one part bleach to ten parts water) to kill any mold or bacteria. This step is crucial to prevent mold from growing on the remaining structures.
Step 6: Dry Out the Area
Even if you've removed the bulk of the water, there could still be moisture trapped in the studs or other materials. To ensure everything is fully dry, use a dehumidifier and fans to help the drying process. This can take several days depending on the extent of the water damage, so be patient.
Step 7: Install New Drywall
Once the area is completely dry and safe, it’s time to install new drywall. Measure and cut the drywall to fit the wall spaces where the old drywall was removed. Attach the drywall sheets to the studs using drywall screws or nails, ensuring they are secure.
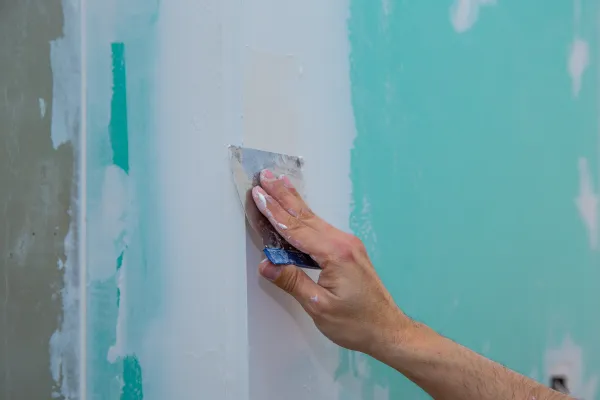
Step 8: Tape, Mud, and Sand
After the drywall is installed, the next step is to apply drywall tape and joint compound (mud). This will cover the seams between the drywall sheets. Spread a thin layer of mud over the joints, then place the tape and smooth the compound over it. You may need to apply two or more layers of joint compound, allowing each layer to dry and sanding it down between coats.
Step 9: Prime and Paint
Once the joint compound has been applied and sanded down, prime the drywall with a high-quality primer. This step helps seal the surface and prepares it for painting. After the primer is dry, apply your chosen paint color to match the rest of the room. For an even finish, two coats of paint may be necessary.
Step 10: Inspect for Mold and Final Touches
As the paint dries, inspect the area for any signs of mold or mildew. If you notice any spots that may have been missed during cleaning, treat them immediately. Once you're satisfied that everything is restored, consider installing mold-resistant drywall or using moisture-resistant paint for extra protection in flood-prone areas.
Conclusion
Restoring drywall after a flood is a process that requires careful attention to detail, safety precautions, and time. While it may seem overwhelming, taking it step-by-step can help you reclaim your home from flood damage. If at any point you feel unsure about tackling the project on your own, don’t hesitate to consult with a professional. By following these steps, you’ll not only restore the appearance of your drywall but also ensure that your home is a safe, healthy environment for you and your family.